A reliable UPVC socket joint depends on more than brushing adhesive onto a pipe: the cut, fit, surface condition, insertion depth, assembly pressure and cure time all affect the result. By following the sequence below, you can prepare, bond and pressure-test a joint without confusing solvent cement with ordinary glue or rushing it into service.
Key takeaways
- Confirm pipe, fitting and cement compatibility before cutting.
- Cut square, deburr, dry-fit and mark the socket insertion depth.
- Apply solvent cement evenly, then push fully home and hold.
- Use a mechanical joint when movement, disassembly or unsuitable materials make bonding risky.
Check the system, tools and work area before cutting
Confirm the pipe, fitting and cement are all intended for the same UPVC system before cutting. UPVC pipe adhesive application uses solvent cement, not a conventional gap-filling glue; the pipe and socket must form a correctly sized interference fit. Check the cement label for UPVC compatibility, shelf life and required primer.
- Match the pipe outside diameter, fitting size, pressure rating and service temperature. Do not assume a PVC, CPVC or multi-purpose cement suits UPVC.
- Gather a pipe cutter or fine-tooth saw, measuring tape, marker, deburring tool, clean dry cloth, compatible cleaner, applicator brush and the specified dauber size.
- Read the cement label and safety data sheet. Confirm the allowed temperature and humidity range, ventilation requirements, open time, cure time and pressure-test interval.
- Check every pipe end, socket, seal and cement container for cracks, dirt, moisture, damage, expired product or a broken lid. Store cement as its label directs.
- Clear the work area of dust, standing water, ignition sources and obstructions. Provide airflow without blowing dirt onto the joint, and wear chemical-resistant gloves and eye protection.
The pipe adhesive process fails before assembly when water, grease, cutting debris or old cement remains on either surface. Keep an oily rag and ordinary thinner away from the joint; use only a compatible cleaner. If the system or cement maker specifies primer, prepare it separately—paint solvent is not a substitute.
Cut square, deburr, dry-fit and mark the insertion depth
Cut the pipe square to its axis; an angled end leaves one side short of the socket stop and reduces the bonded area. Use a pipe cutter or fine-tooth saw, then remove every internal and external burr.
- Remove the raised plastic edge with a deburring tool. Lightly chamfer the outside rim so it enters the socket without scraping cement away or catching on the fitting.
- Wipe away loose cutting debris with a clean, dry cloth. Keep water, grease and old cement off both mating surfaces; moisture trapped in the joint can interrupt solvent action.
- Push the dry pipe into the fitting without cement. It should enter smoothly to the internal socket stop, not wobble loosely and not require force.
- If the pipe stops short, inspect the burrs and chamfer before cutting again. If it remains loose, stop: the pipe, fitting or tolerance is wrong, and extra cement will not correct it.
- Measure the socket depth with a rule or depth gauge, then mark that distance around the pipe with a permanent marker. The mark shows whether the pipe reaches full insertion during the pipe adhesive process.
Do not skip the dry fit because the solvent cement will give you little time to correct alignment. A square end, clean bevel and visible depth mark create the controlled interference fit required for reliable upvc joint bonding.
Clean both surfaces and apply solvent cement evenly
Cleanliness determines whether the joint fuses or leaks. Remove dirt, grease, cutting debris, moisture and old cement from the pipe end and fitting socket with a compatible cleaner. Use a clean, dry cloth; avoid oily rags and solvents that leave residue. Water trapped in the socket interrupts solvent action and weakens UPVC joint bonding.
1. Wipe the pipe to the marked insertion length and clean the entire socket depth. Let both surfaces become visibly dry before applying cement.
2. Check whether the system or cement manufacturer requires primer. If it does, apply the specified primer to the pipe and socket, allow it to condition the surfaces for the stated time, and use solvent cement afterward. Ordinary thinner or paint solvent is not a primer substitute.
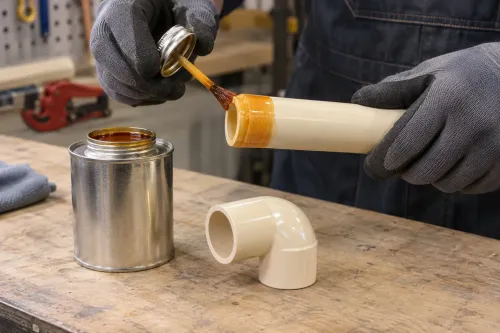
3. Stir the solvent cement gently if the product instructions require it. Use the dauber size specified for the pipe diameter, then coat the full insertion length of the pipe with one even layer.
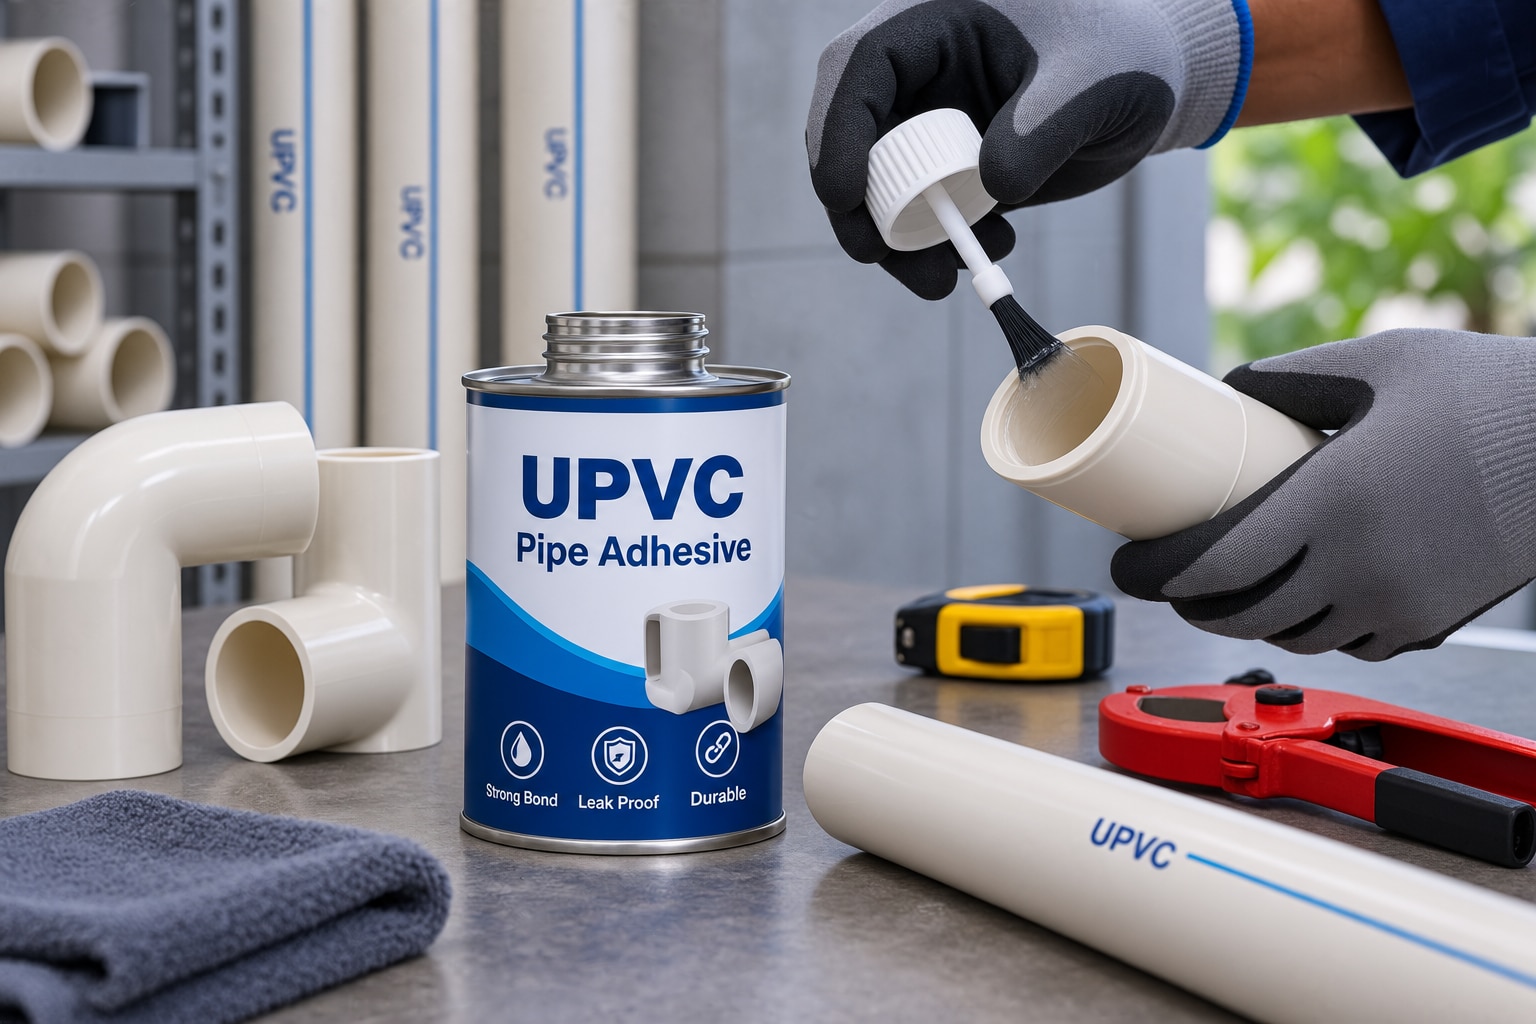
4. Apply a separate, even layer inside the fitting socket, covering its full depth without leaving dry patches. This is the essential upvc pipe adhesive application step: solvent cement softens the mating UPVC surfaces, rather than filling a large gap.
5. Remove excess cement before assembly. Pooled material can soften plastic excessively, narrow the bore or attack the fitting outside the joint area. Follow the manufacturer’s temperature, humidity and ventilation limits because wet or cold conditions slow surface drying.
Push fully home, hold the joint and allow it to cure
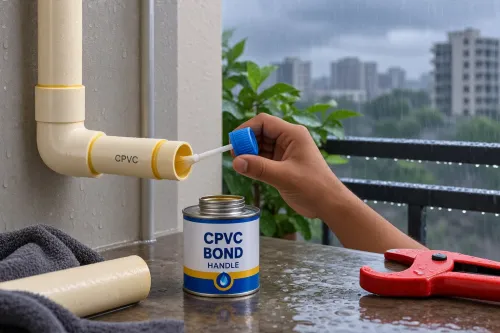
Push the pipe straight into the socket until it reaches the marked insertion depth. Use firm, even pressure and keep the pipe aligned; twisting, stopping short or forcing the fitting sideways can leave an incomplete solvent-welded area. UPVC pipe adhesive is solvent cement, so the joint must remain undisturbed while the softened surfaces fuse.
- Assemble immediately after applying the cement, before the coated surfaces begin to dry. Push fully home in one continuous movement, then hold the pipe and fitting together for about 30 seconds, or until the joint resists push-out.
- Keep pressure on large-diameter, cold or heavily loaded joints for longer than 30 seconds. Support the pipe so its weight does not pull the fitting out of alignment.
- Wipe away the external cement bead with a clean, dry cloth without moving the pipe. Do not disturb the joint to inspect it.
- Leave the assembly untouched for the cement manufacturer’s handling and cure period. Set time is not full cure time; use the product’s temperature-and-pipe-diameter table before filling the line.
- Pressure-test only after the specified full cure. Fill gradually with water, vent trapped air, bring the system to its stated test pressure, and inspect for movement or leakage. Do not pressure-test with compressed air unless the system procedure specifically permits it.
For how upvc pipe adhesive is applied bangalore, use the same assembly method, but adjust waiting time for cold storage, monsoon humidity and ventilation. Good upvc joint bonding depends on the cement’s published environmental limits, not a fixed clock.
Choose the right cement and know when a mechanical joint is better
Search results for an upvc solvent cement supplier bangalore are only a starting point. Ask for compatibility with PVC-U pipe and fittings, the approved diameter range, applicable standard or code qualification, batch number, expiry date, technical data sheet, and current safety data sheet (SDS). A low price cannot replace traceability or a published cure schedule.
| Option | What it does | Choose it when |
|---|---|---|
| UPVC solvent cement | Softens mating PVC-U surfaces so they fuse as solvent evaporates | The pipe and fitting have the correct interference fit and the joint is intended to remain permanent |
| Compression or other mechanical joint | Seals through a gasket, ferrule, or threaded/compression mechanism | You need removal, inspection, future replacement, or connection to equipment that cannot be solvent-welded |
| Flanged mechanical joint | Uses a gasket between bolted faces | You need a removable connection for pumps, valves, tanks, or maintenance access |
Do not treat solvent cement as gap filler. A loose socket, damaged pipe, incompatible CPVC product, or wet surface is a bonding failure, not a reason to apply more cement. Excess material can soften the bore or fitting.
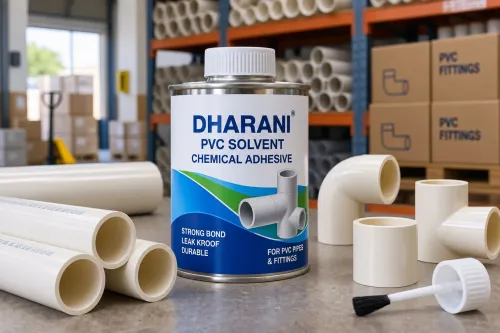
For how upvc pipe adhesive is applied bangalore, use the cement maker’s temperature, humidity, ventilation, and cure limits; Bengaluru’s monsoon moisture and storage conditions can change drying time. Dharani and Company can be evaluated by requesting those same product records before accepting a batch.
Related products
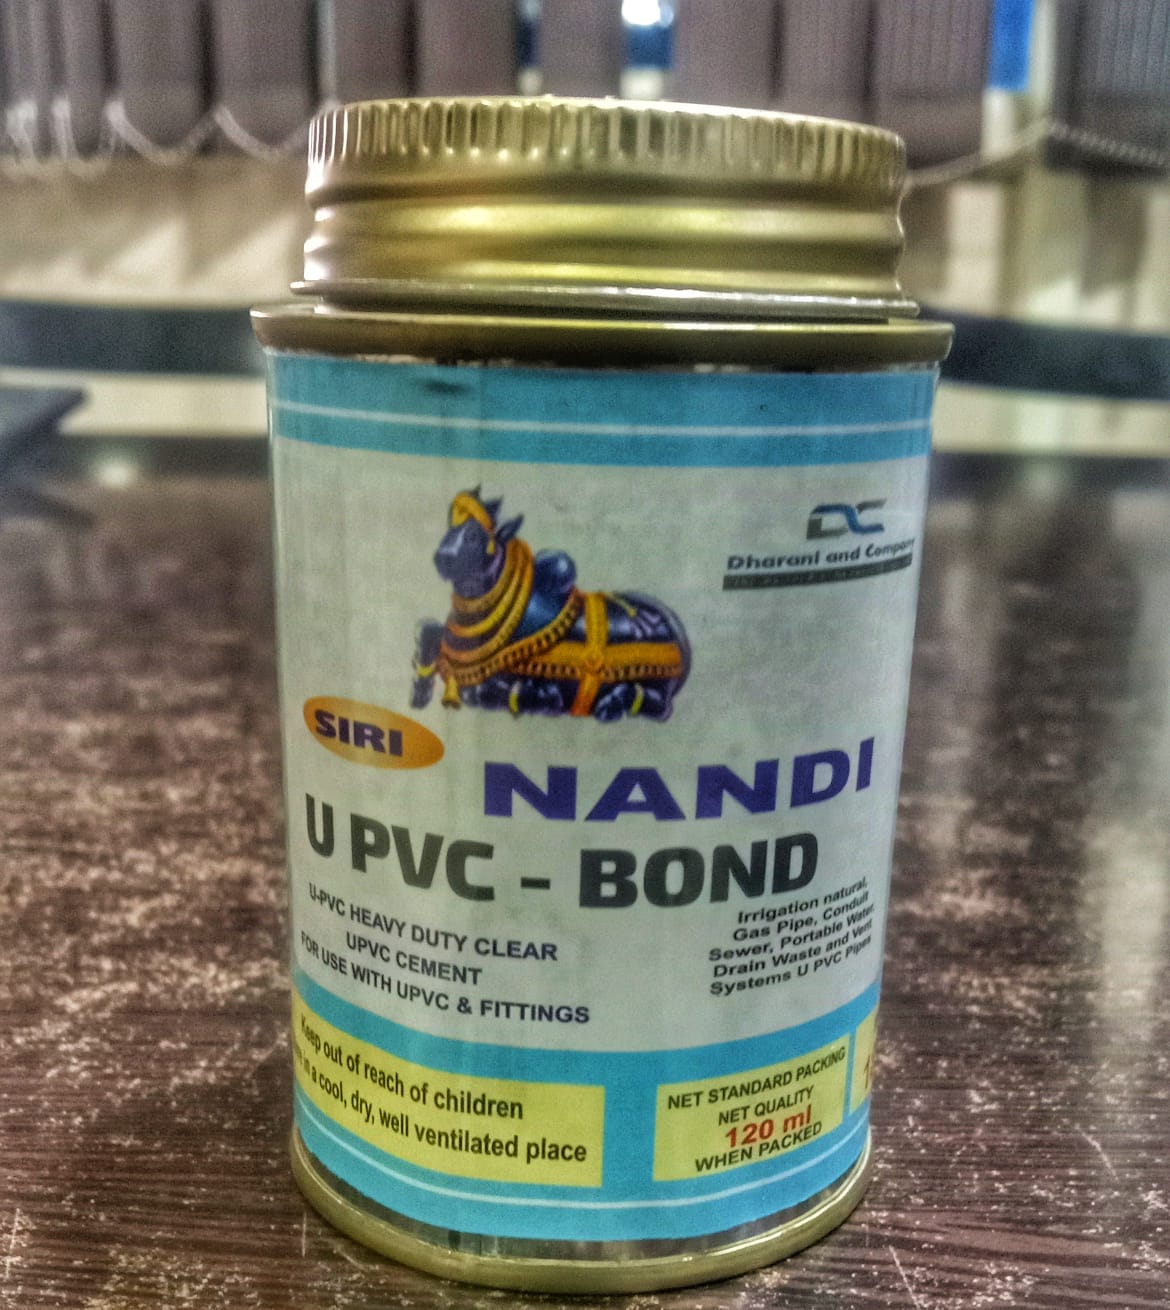 | UPVC SOLVEN CEMENT As a leading UPVC Solvent Cement manufacturer, we pride ourselves on delivering high-quality chemical solutions tailored to the specific needs of the... View product → |
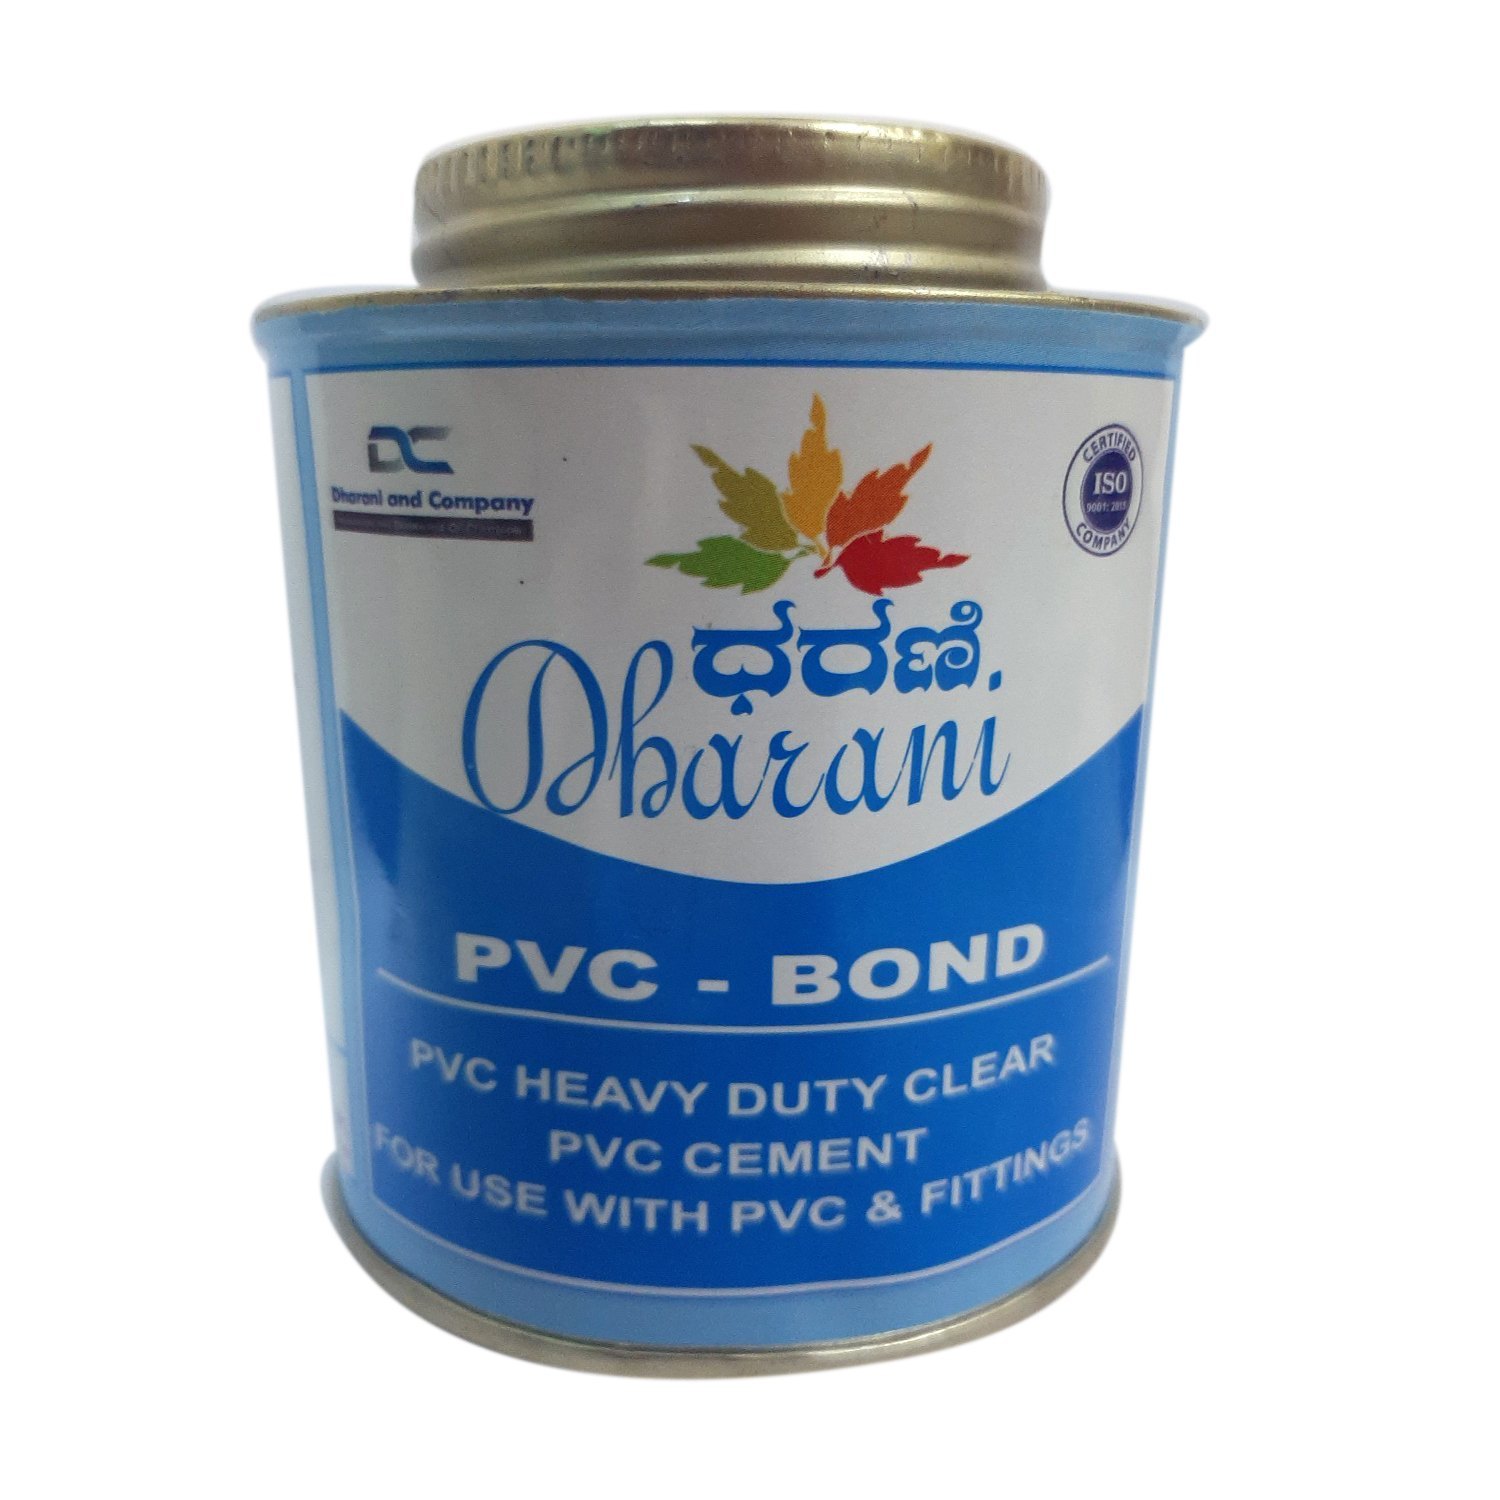 | PVC SOLVENT As a leading PVC solvent manufacturer, we take pride in delivering top-notch chemical solutions tailored to industrial needs. View product → |
Frequently asked questions
What should you check before applying UPVC pipe adhesive?
Confirm that the pipe, fitting and solvent cement are intended for the same UPVC system. Check compatibility, shelf life and whether the label requires primer.
How do you prepare a UPVC pipe for solvent cement?
Cut the pipe square, remove burrs, dry-fit it into the socket and mark the insertion depth before cleaning the surfaces.
How is UPVC solvent cement applied?
Clean and dry both surfaces, apply solvent cement evenly, push the pipe fully home, align the joint and hold it in place.
When is a mechanical joint better than UPVC joint bonding?
Choose a mechanical joint when the connection must be disassembled, the materials are incompatible, movement could stress the bond or solvent cement is unsuitable.
Related product
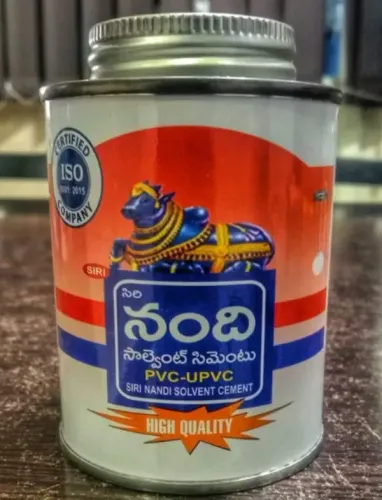
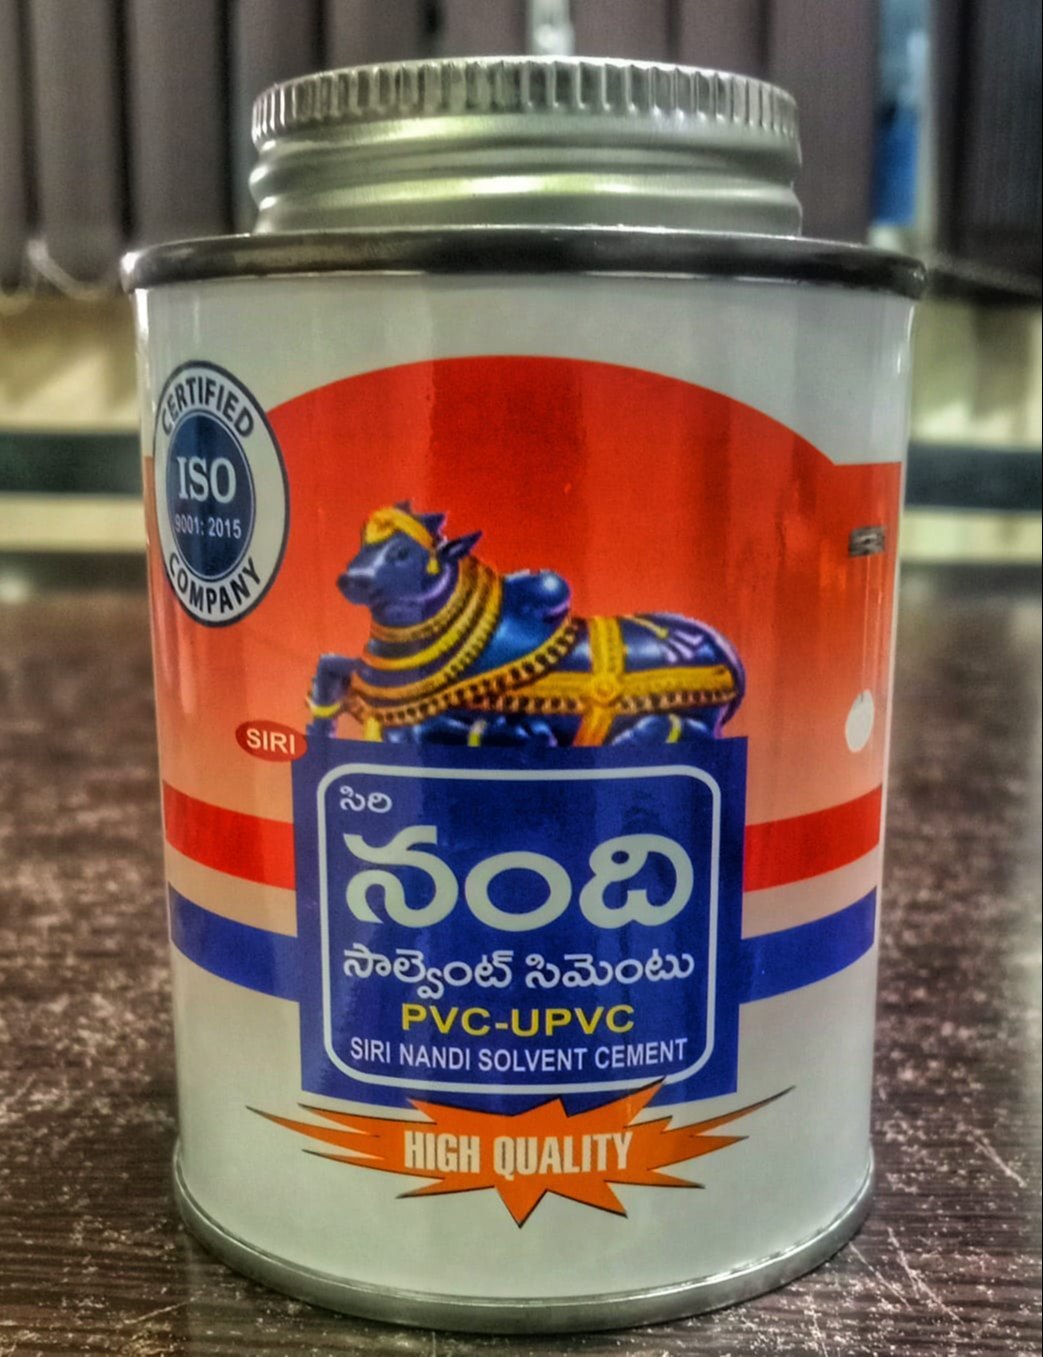 | PVC SOLVENT Siri Nandhi stands as a reputable PVC solvent manufacturer, delivering quality chemical solutions to meet industrial demands. View product → |
Keywords